Growing up, most of us had the classic kickstand that came with our bikes. They also had a coaster brake (i.e. stepping on the pedals to stop). As we graduated to bigger and better two wheeled varieties, the kickstand went by the wayside (literally) and technology like full suspension appeared. The question is now that we don’t have kickstands, how do you lay down your bike properly? The answer… Always on the “Cheap Side!”
What is the “Cheap Side”
We know what you’re thinking – ‘What the heck is the cheap side?’ It’s the side of the bike without the gears, crank and other fancy mechanical gadgets. The side that has absolutely nothing “expensive” on it, and therefore… the “cheap side.”
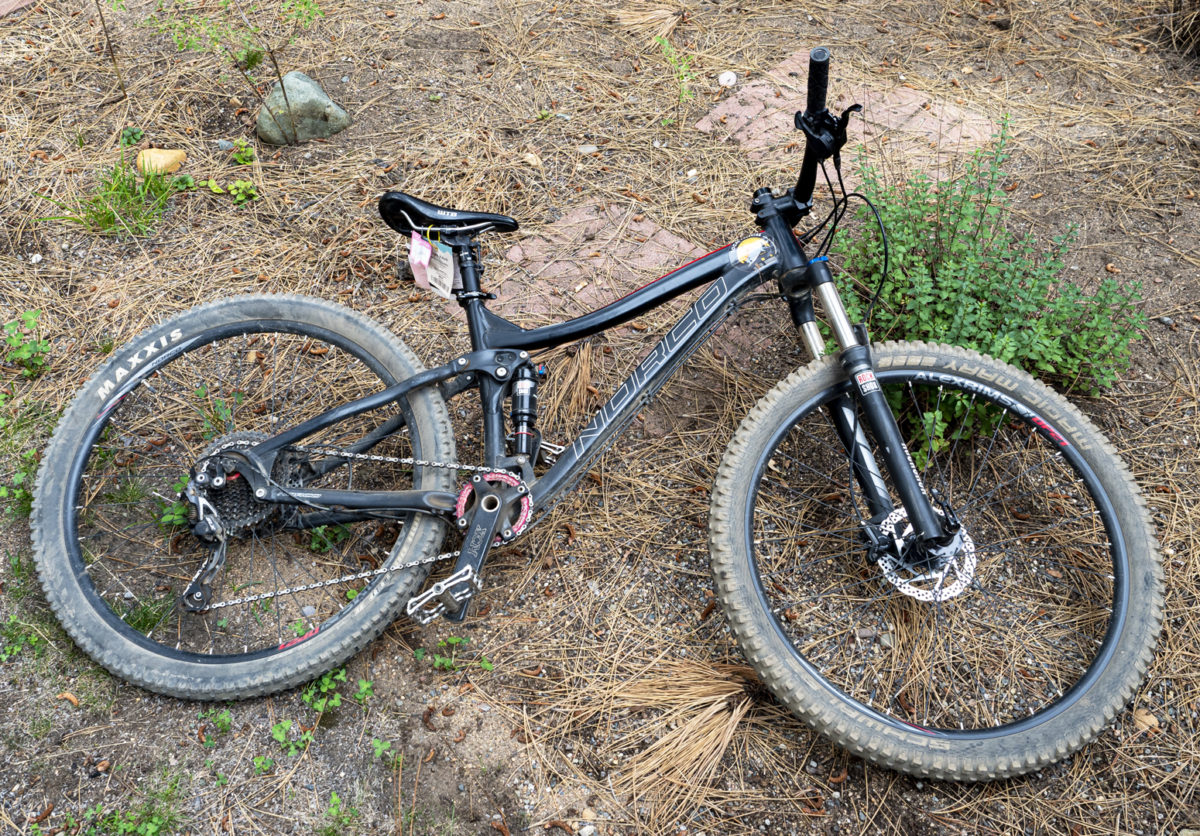
Laying on the “cheap side”
How & When To Lay Down Your Bike
Of course, a decent mountain bike isn’t cheap in general so the opportunity of NOT laying it down is always the better option. Keep your eyes peeled for a spot to lean the back wheel against so that it stands up without putting any pressure on its more sensitive pieces.
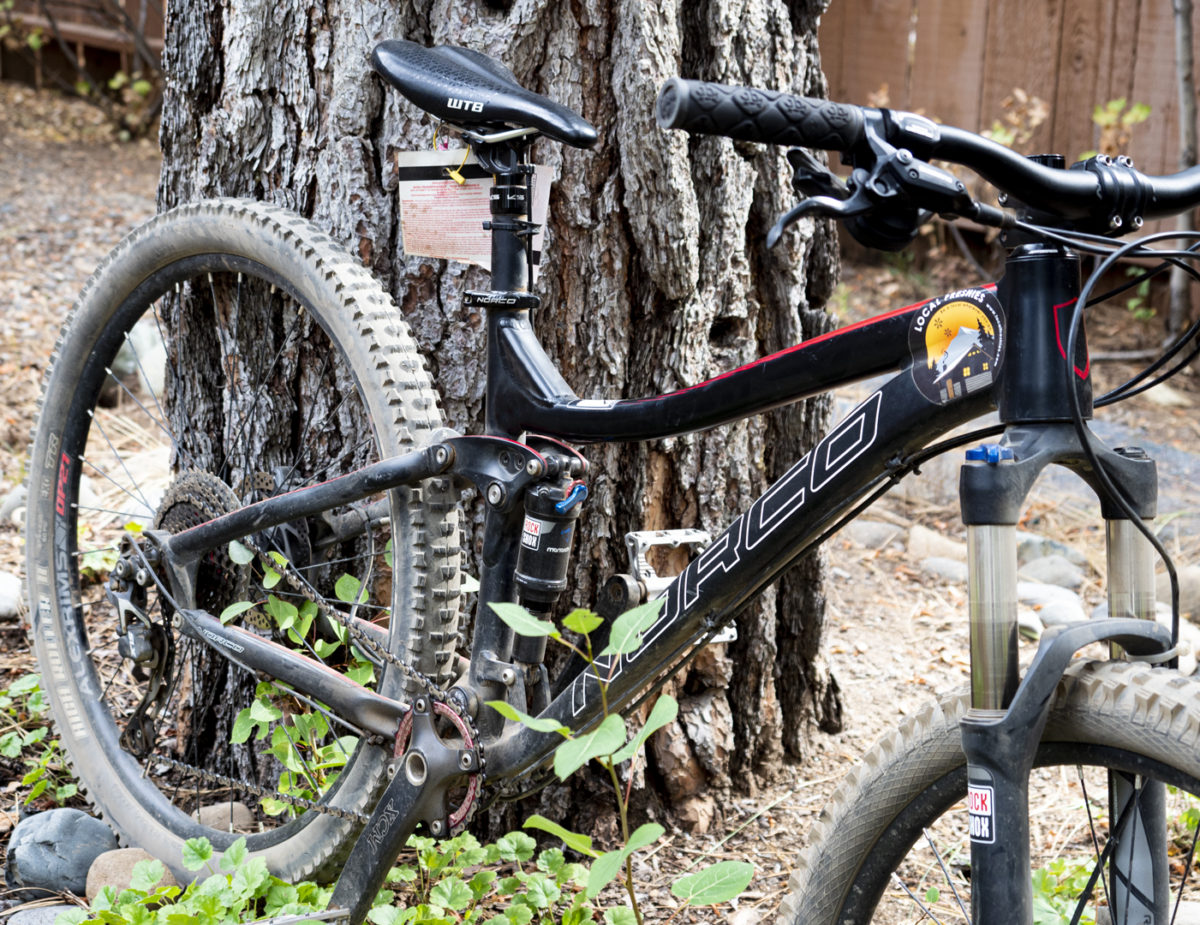
If possible, prop your bike up on the “cheap side”
Even on the “cheap side”, there’s an opportunity to affect the brake rotors. With that being said, there’s going to be moments when you just can’t find somewhere to hold the bike up. In that case, gently place your bike down on the side that doesn’t have a derailleur or a cassette. Things like sticks, rocks, or bushes can put undue pressure on that gear causing a bigger headache.
In summary, just remember to always place it on the “cheap side.” You’ll reduce the hassle and help make sure you don’t have to take an unnecessary trip to the shop.