Spring has sprung and summer is upon us. The dirt is ready. The trails are firing. And here you are in pain… LOTS of pain. How come? Well, the first thing to do is check to see if your cockpit setup is dialed. Just like Goldilocks, you need to make sure everything is juuuusssssttttt right. Here’s a few tips on what to look for in your mountain bike cockpit setup.
Saddle
Angle
The first thing to check is your saddle angle. If it feel like you are sliding forward, the seat might be pointed a bit too low. On the other end of the spectrum, if the seat is too high, you’ll be cursing with groin pain. It’s good to experiment and find your perfect seat position.
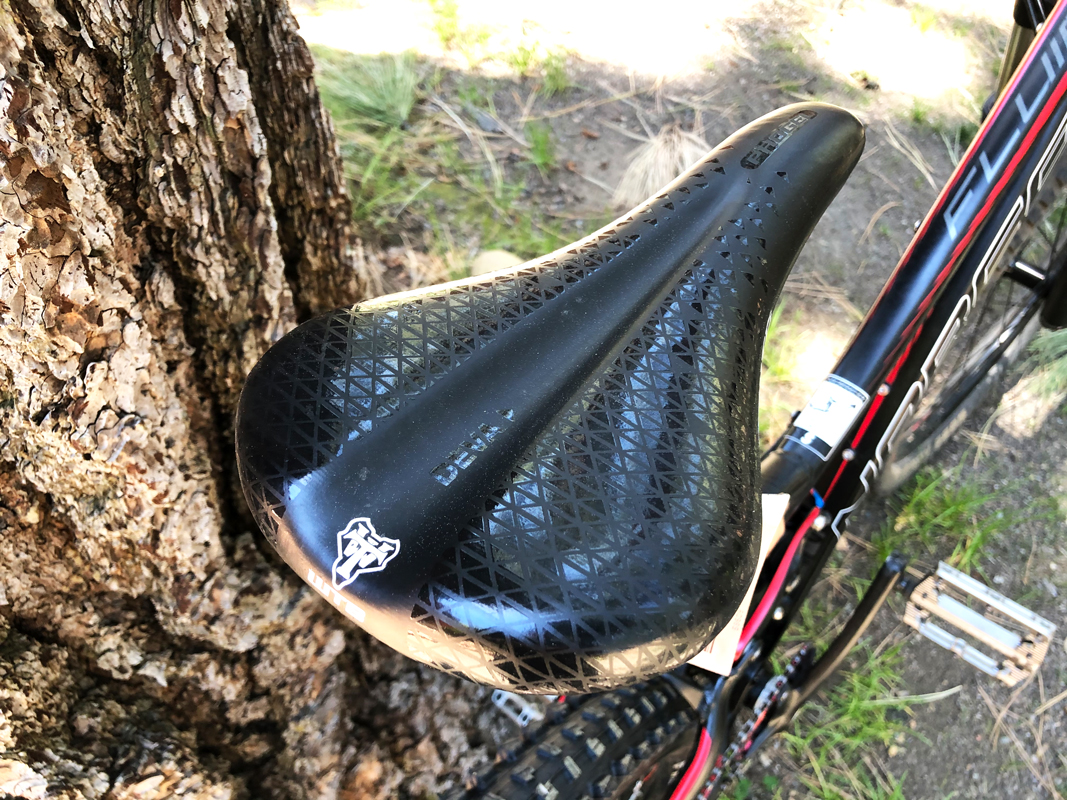
Height
This might be the most important when it comes to endurance on your bike. You want the seat high enough where you barely have a knee bend. The goal is to make sure you’re at peak leg extension, so you use the entire leg muscle. If the seat is too low, you’ll be putting too much pressure on your quads and knees. But too high and the knee will lock out, overextending and stressing the joint. Also, you won’t have the leverage needed to pump up those long climbs.
The best way to make sure that the seat height is correct is by either having a friend hold you up or just lean against a wall. From there, push the pedal down until it’s at the 6 o’clock position (closest to the ground). The leg should be extended, just barely locking out.
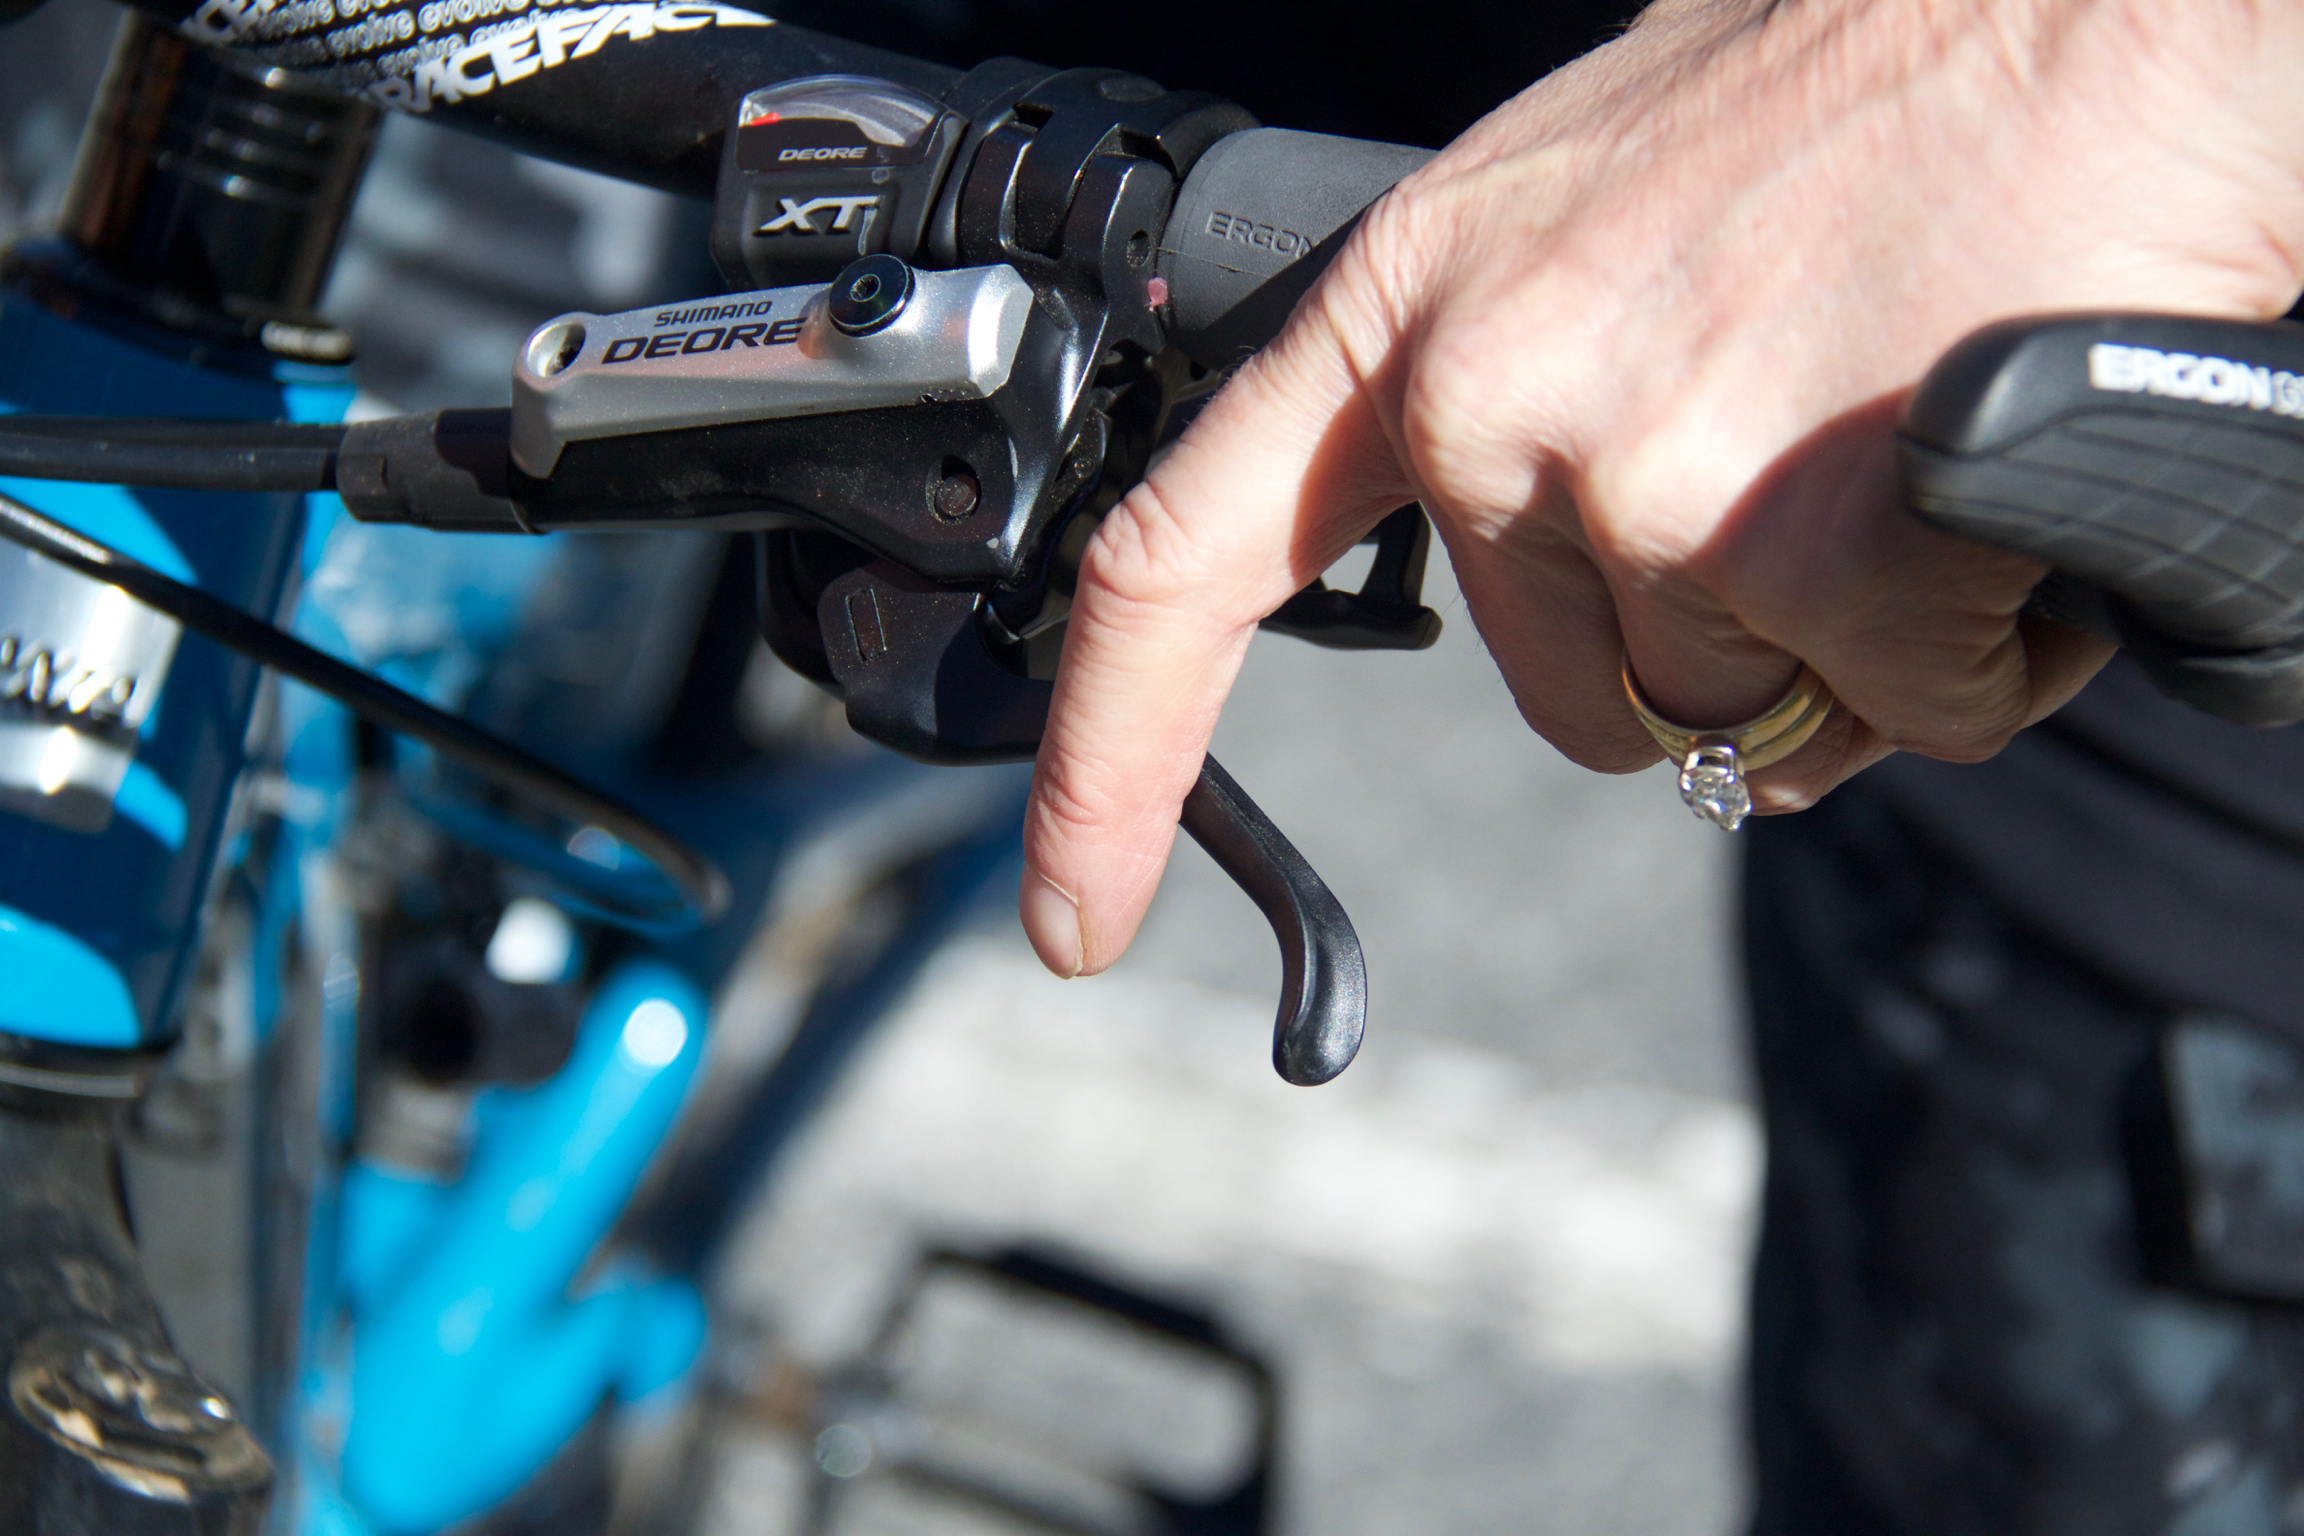
Brake Levers / Shifters
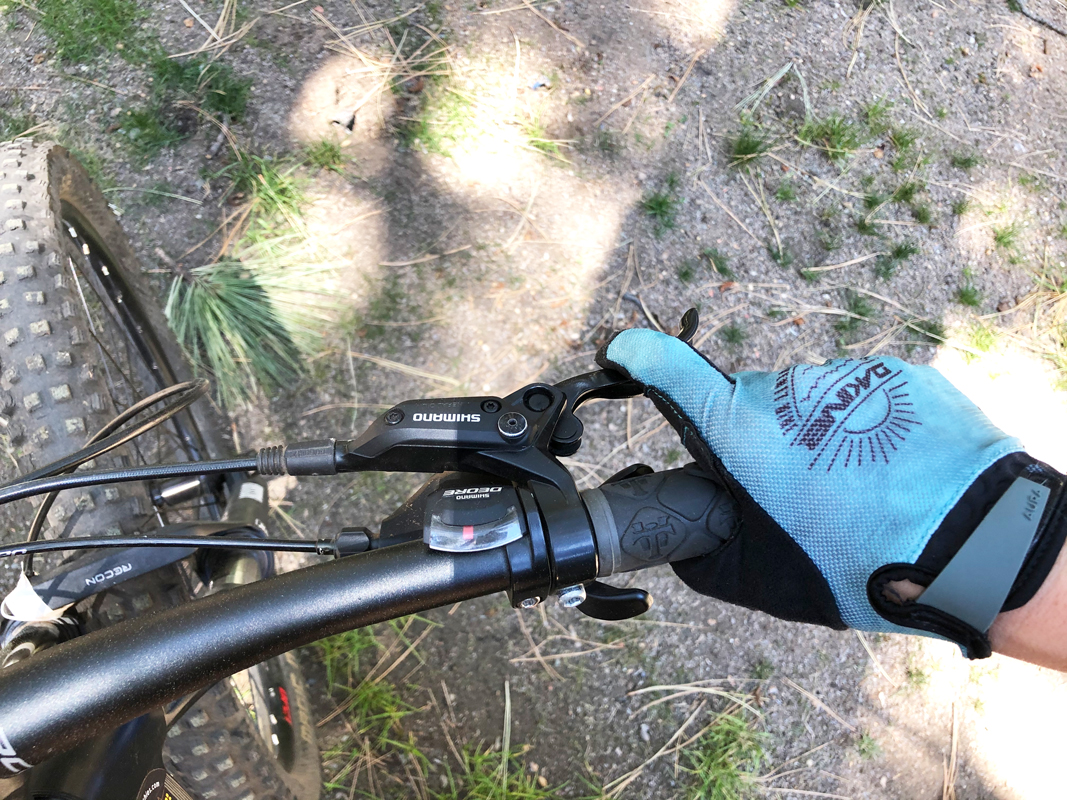
Just as the name dictates, shifters and brakes should both be treated as levers. What do we mean exactly? You should be able to apply pressure to either of them with only one finger. The further in the brake levers and gear shifters are from your grip, the easier it is to make sure you can do it this way.
Handlebar
Sweep & Rise
Sweep refers to how high or low the bar is rotated. If it’s too high (or in the biking world – “smiling”), you’ll have a kink in the wrist. If it’s too low, you’ll stretch the outside of your forearms and cause wrist pain as well.
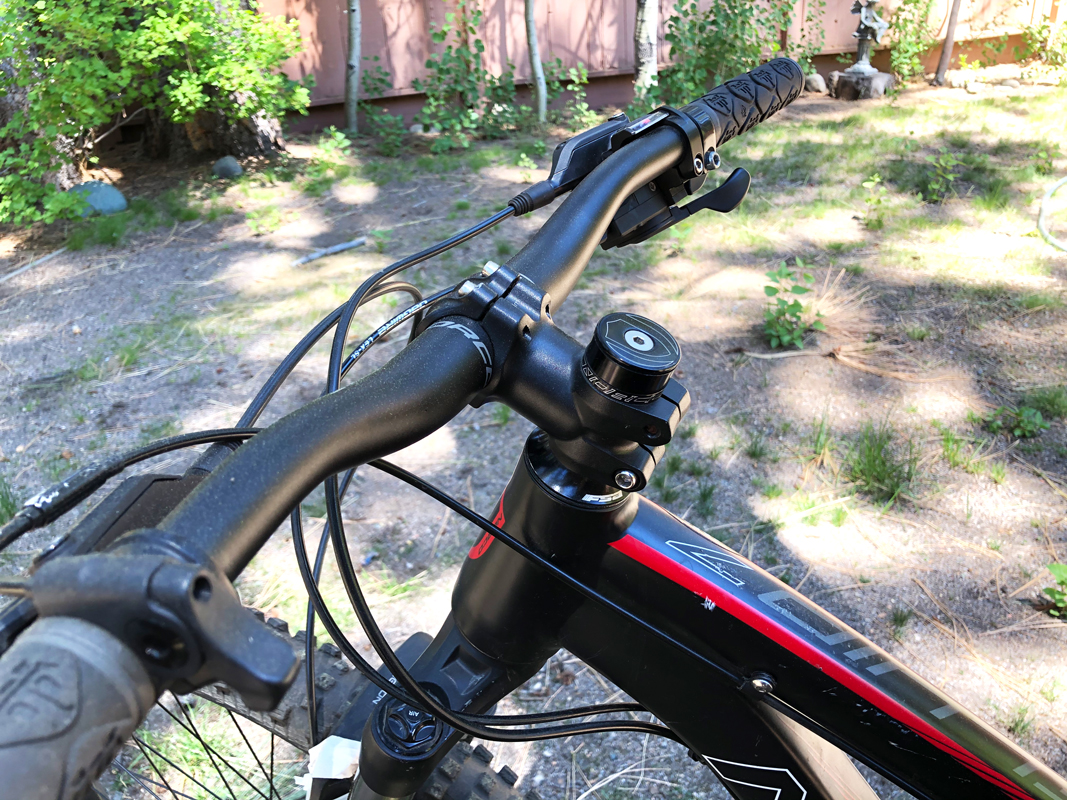
Rise Of The Bar
As the name states, this is how high or low the handlebar is compared to where it attaches to the stem. Mountain bike handlebars are typically configured with zero rise up too 100 mm (approx. 4 inches). For those with what feels like a low handlebar, headset spacers give you the opportunity to adjust the height of your handlebars, making sure it fits right. If they sit too low, you’ll feel back pain, specifically in your trapezius. If too high, you won’t be able to use your full skeletal structure.
When you get all of these things just right, you’ll be using each of your body’s muscles to their optimum level. In other words, you’ll be “stacked & packed” and ready for the trails!